
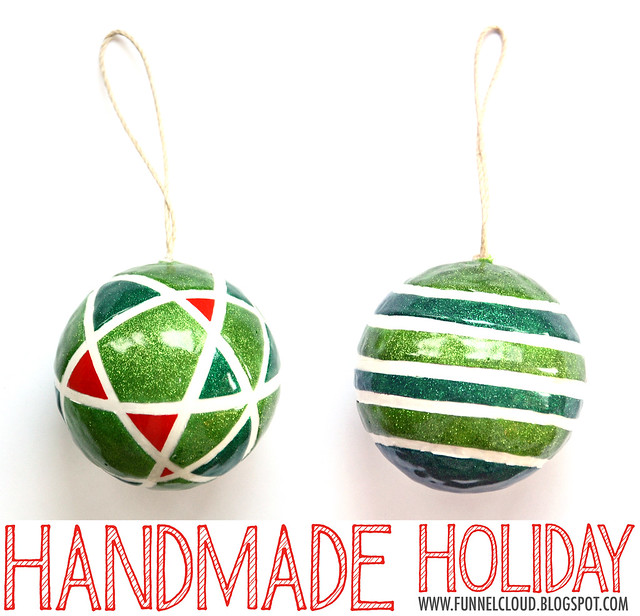
I have the sense of humor equivalent to that of a twelve year old, so that means I'll be snickering about ball jokes throughout the rest of Handmade Holiday. Today we have...glitter balls...heh...
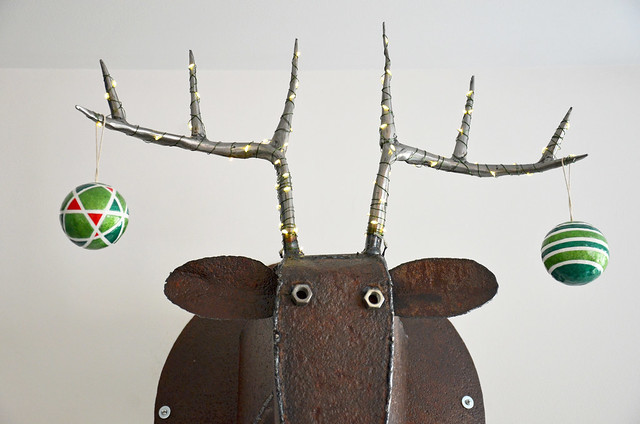
I made these ornaments for last year's tree - I had a lot of pink and orange and non-traditional colors going on, so I wanted to create a few ornaments in traditional Christmas red and green. (And I wanted an excuse to use glitter paint.)
I've gotten requests to include tutorials for the Handmade Holiday projects, and while I'm not a photograph-every-step kind of blogger, I will include some simple instructions/tips and a materials list like I did last year:
(One of the reasons I don't photograph my process: My studio is always a mess. You definitely don't need wood candlesticks for this project. Or any of that other crap in the background.)
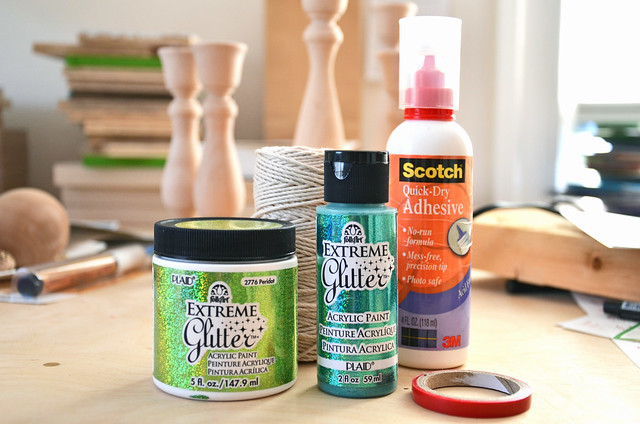
Materials | paper mache ball ornaments (from your local craft store - turns out these are actually plastic balls covered with kraft paper), white gesso/acrylic paint, glitter paint (I used Plaid brand Extreme Glitter), glue, hemp twine
Equipment | artist tape (the thinnest you can find), paintbrush, masking tape, X-acto knife
Instructions:
1. Remove the cheap hanging cord that comes with the ornament. You will be left with a hole to attach a new, non-cheap-looking hanging cord.
2. Make a hanging loop with the hemp twine and knot it at the end. Put a dab of glue around the hole in the ornament and press the knot (with the twine tails inside the hole) against the hole - hold it for a few seconds until it sticks and allow the glue to dry.
3. Protect the hemp twine from paint with masking tape.
4. Paint the ornament with white gesso (or whatever background color you choose) and allow to dry.
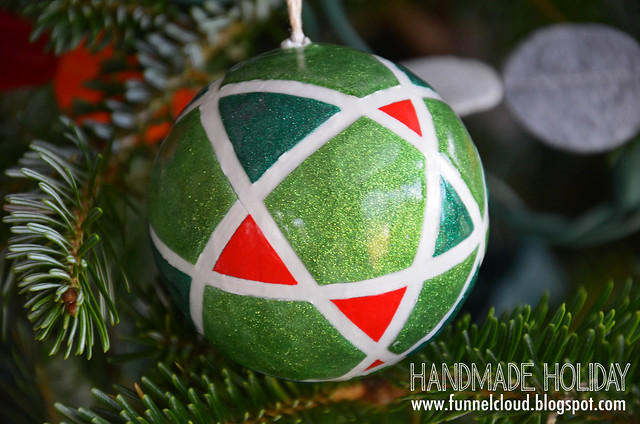
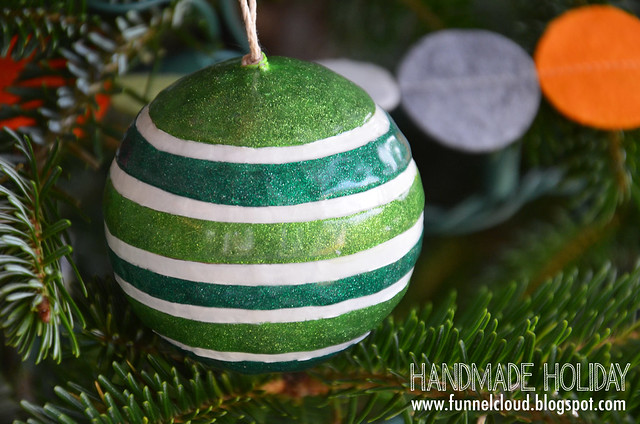
5. Use the artist tape to mask off a design on the ball. (Optional: Painting another coat of white on top of the tape may help prevent the colored paint from leaking under the tape.) I found that that the geometric pattern worked better than the stripes because it is hard to get the tape to lay flat and straight for the stripes.
6. Paint the ball using acrylic paint or glitter paint in the sections you have masked off. The glitter paint takes many many coats to get a true glittery effect. It also gives the ornaments some texture. Use the hanging cord to hang the ornament to dry between coats of paint.
7. Remove the tape and touch up any areas where paint seeped under the tape. I had applied the glitter paint so thickly, that it helped to run an X-acto knife along the edges of the tape to get clean lines and avoid pulling all the paint off.
8. Hang your new ornament on your Christmas tree...
...or on your fake-taxidermied metal deer head. As it turned out, I didn't even end up hanging the glitter balls on the tree last year - I thought they worked perfectly to add a little Christmas bling to John Deere's antlers:


No comments:
Post a Comment